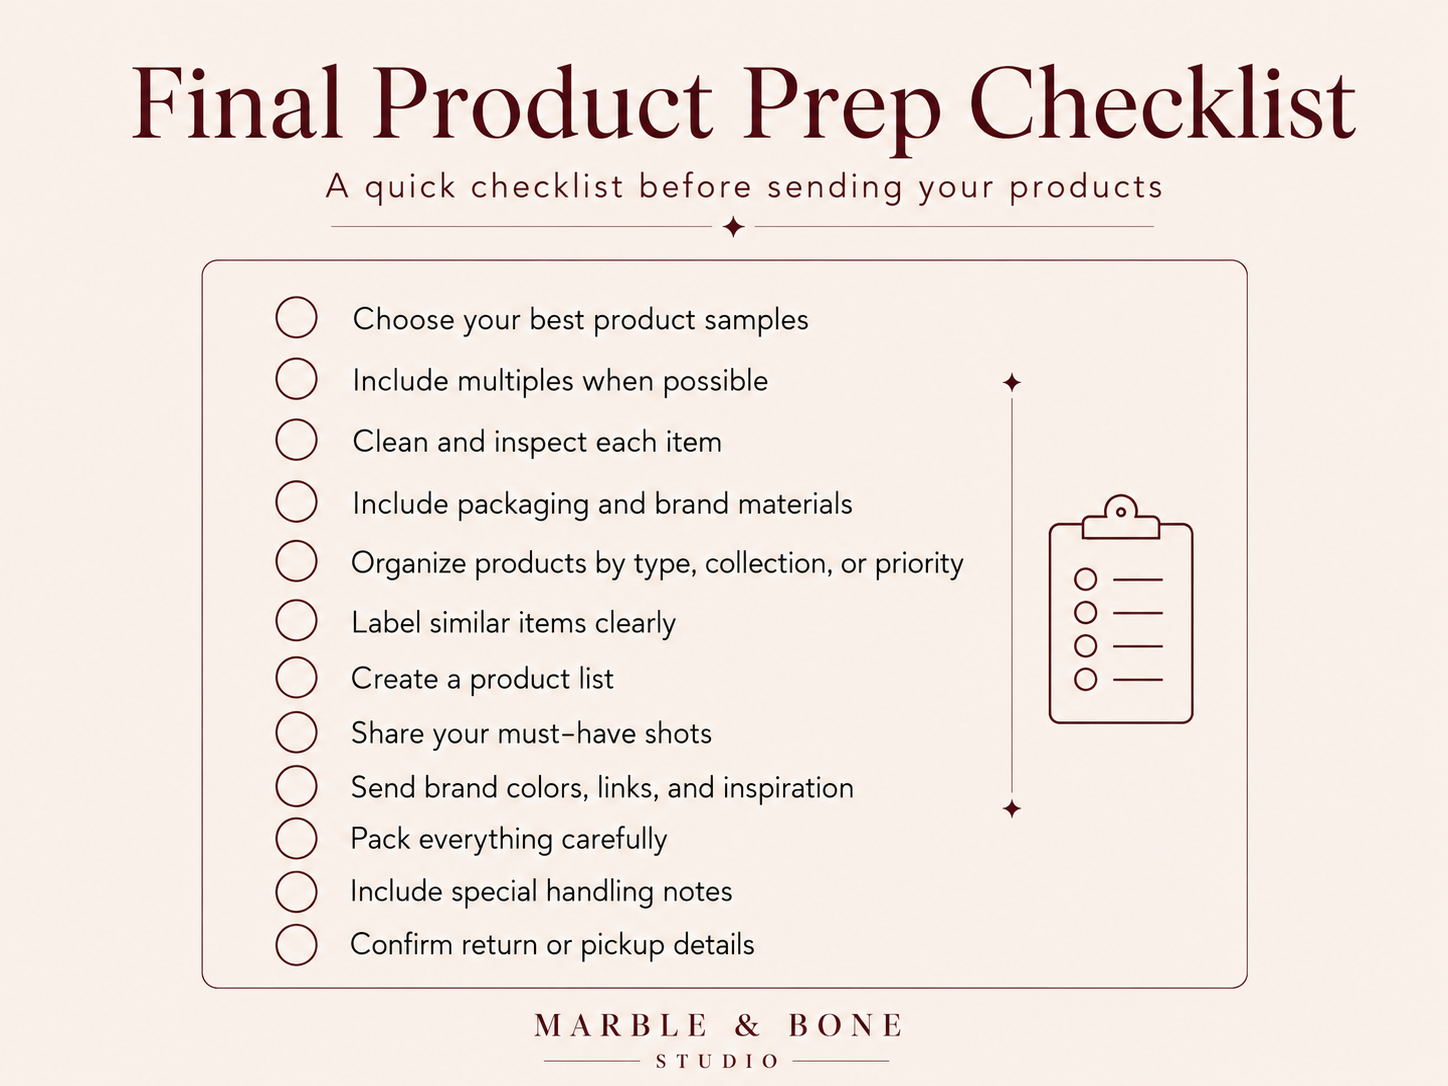
How to Prepare Your Products
Product photography starts before the camera comes out. The way your products are selected, cleaned, organized, and packed can make a big difference in how smooth your session is and how polished your final images look.
Whether you need photos for your website, online shop, social media, ads, or a product launch, a little preparation helps create stronger, more intentional images.
Here’s how to get your products ready before your session.
Choose Your Best Products
Send products that are clean, finished, and in the best condition possible. The camera picks up small details, so it is worth checking each item before sending it.
Look for products that are:
Clean and dust-free
Free of scratches, dents, stains, or damage
Properly labeled or packaged
Fully finished, dried, cured, sealed, or assembled
A good representation of what your customers will receive
If your products are handmade, choose the strongest examples. Small variations are normal, but your photos should still reflect the quality of your brand.
Send Multiples When You Can
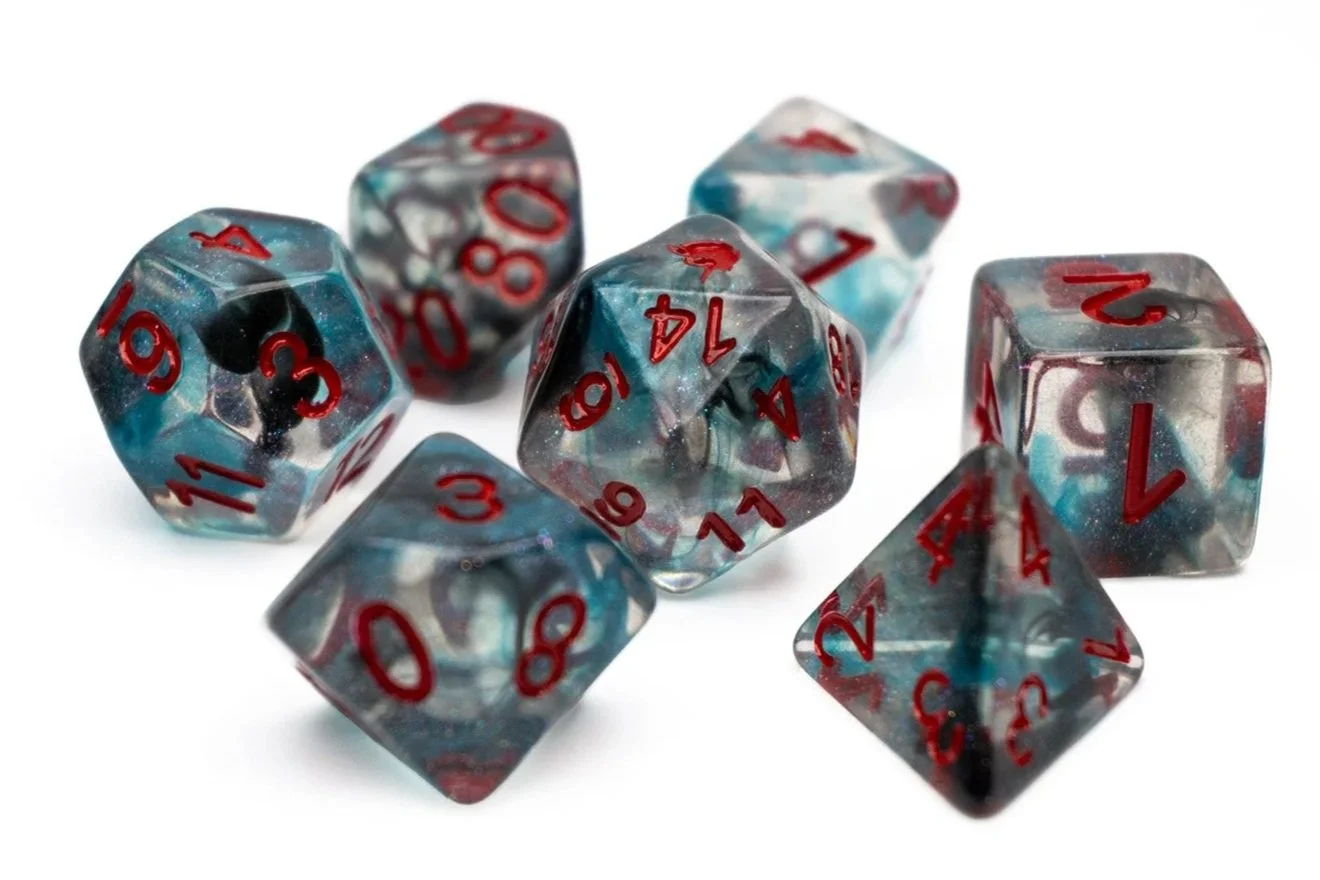
If possible, send more than one of each product. This is especially helpful for handmade, fragile, reflective, packaged, or styled items.
Multiples make it easier to photograph:
Different angles
Open and closed packaging
Styled groupings
Detail shots
Product-in-use images
Backup options if something arrives damaged
For example, if you sell candles, you may want to send one candle to photograph clean, one to burn, and one with packaging. If you sell skincare, send the bottle, the box, and any inserts or branded materials.
Include Packaging and Brand Materials
Your packaging is part of your customer experience, so include anything you want photographed.
Helpful items to send include:
Product boxes
Mailers
Branded bags
Labels or tags
Thank-you cards
Business cards
Stickers
Tissue paper
Ribbon or twine
Instruction cards
Product inserts
Seasonal packaging
These details are great for website images, social media content, launch graphics, and marketing materials.
Organize and Label Everything
Before sending your products, group them in a way that makes sense for your business. This helps keep the session organized and makes sure everything is photographed correctly.
You can organize by:
Product type
Collection
Color
Scent
Size
Style
SKU
Priority
Label similar items clearly so there is no confusion. You can use sticky notes, tags, labeled bags, or a simple printed list. Just make sure labels do not damage the product or packaging.
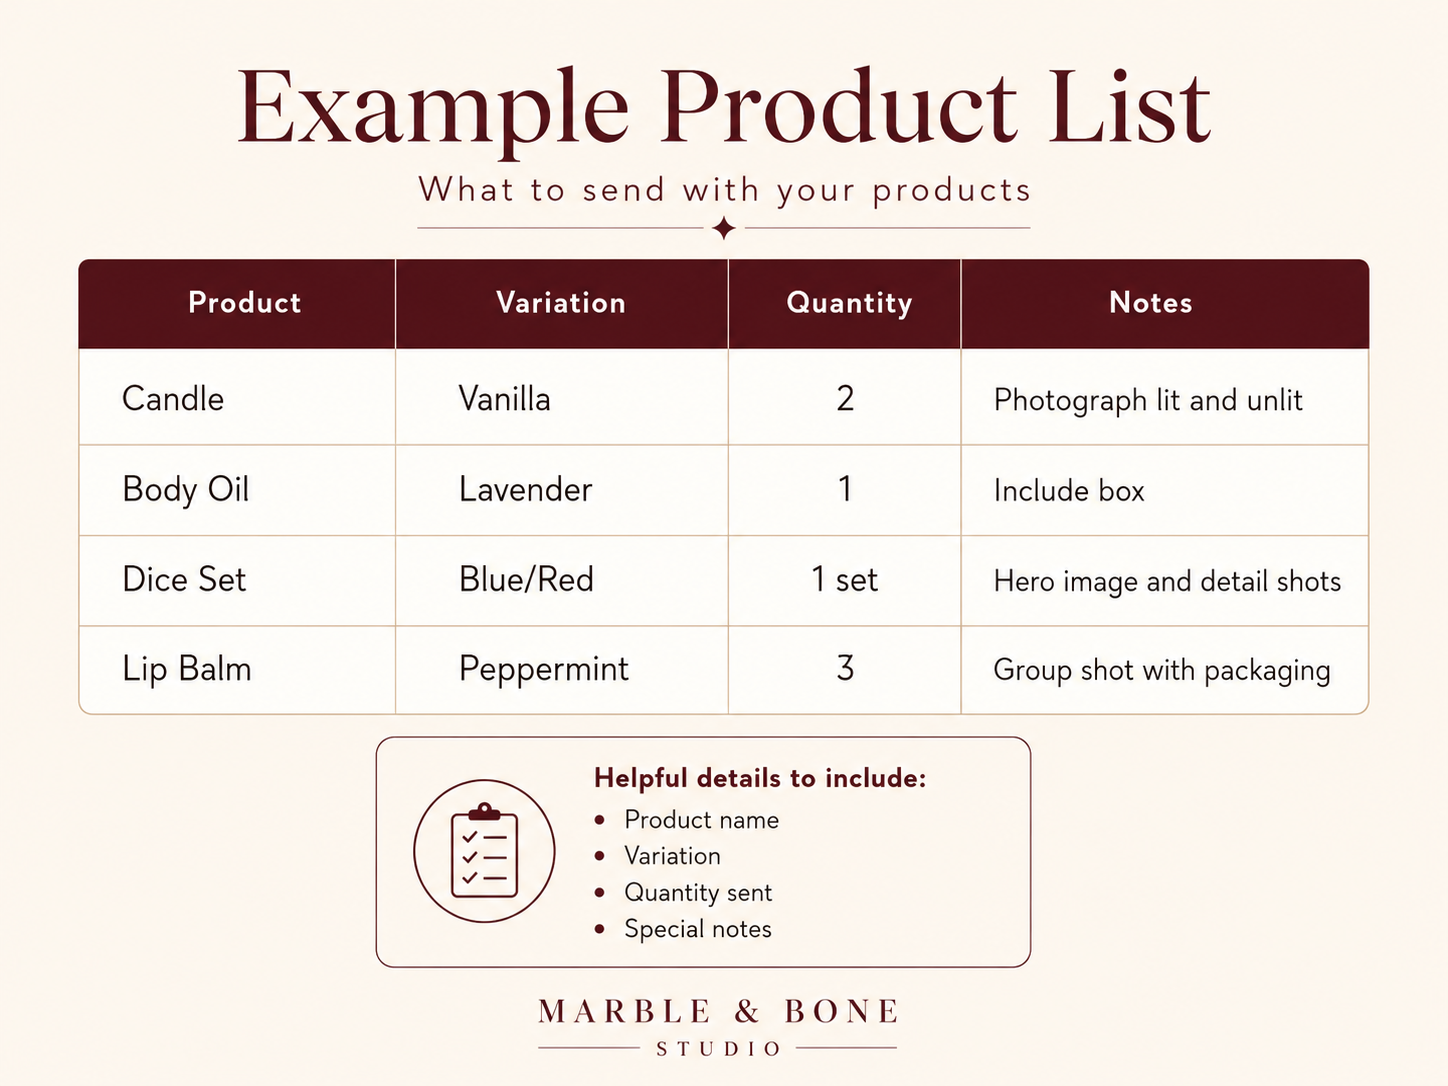
Send a Product List
A simple product list is one of the most helpful things you can include. It does not need to be complicated.
Include:
Product name
Variation, color, scent, or size
Quantity sent
Priority level
Any special notes
Pack Everything Carefully
Good packing helps your products arrive safely and ready to photograph.
A few packing tips:
Wrap fragile items individually
Use padding around glass or delicate items
Keep liquids sealed and upright
Place small items in labeled bags
Protect boxes and packaging from dents
Use dividers so items do not shift
Include your product list inside the package
Mark fragile items clearly
If your packaging will be photographed, send a clean extra version if possible. Shipping labels, tape, dents, and crushed corners can limit how packaging can be used in photos.